Making regular backups is a standout amongst the best methodologies to secure your significant reports, pictures, Video against programming issue equipment disappointment and malware assaults. There is various outsider programming’s accessible to back up your PC or framework drive. In any case, did you know windows 10, 8.1 and 7 has a robotized apparatus, which back up your PC even a solitary envelope consistently? Here this post well ordered guide how to plan Windows 10 PC backup naturally.
How to schedule automatic backups on Windows 10
Windows 10 and 8.1 has a component named File History, That empowers you to pick explicit envelopes to back up consistently. Of course, it backs up all organizers including work area, records, pictures, music, downloads, OneDrive, and so forth in the client account envelope (C:/Users/account name). Yet in addition you can include additional records and envelope from an alternate drive. What’s more, like Time Machine in OS X’s the File History likewise naturally back up any record that has been changed or included. We should pursue ventures beneath to Automatically backup envelopes on windows 10
Automatically Back up Files Using Windows 10 File History
- First of all, insert the External Drive or USB where to save backup files,
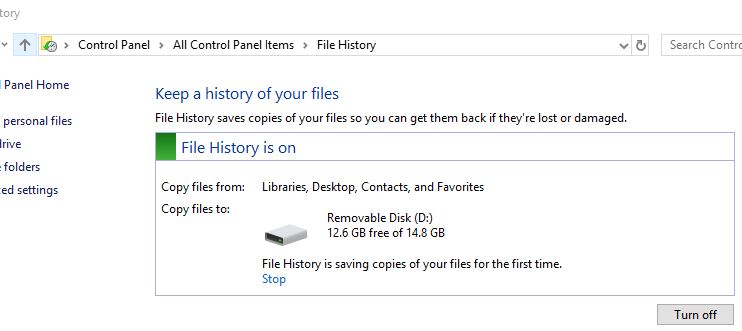
- Now open Control panel, search for and select file history,
- Here Check and make sure File History is Turned on
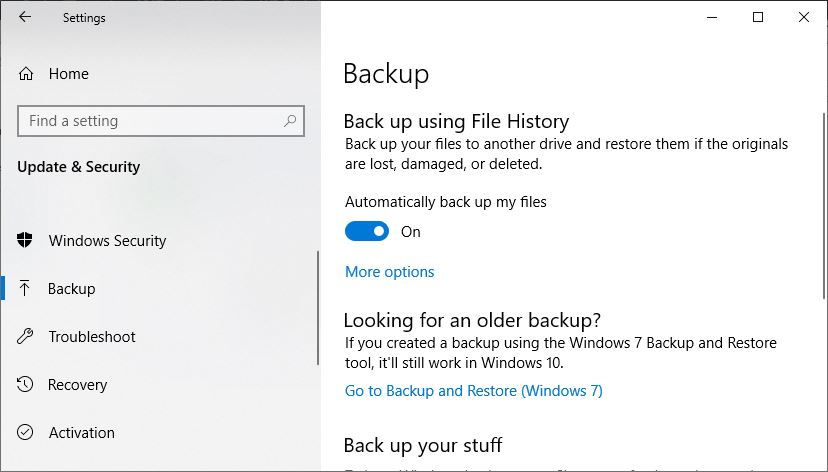
- Now press Windows + I to open the Settings app,
- Select Update & security, then Backup
- Here UnderBack up using File History section, click Add a drive
- And select the drive to store the backup files.
- The Automatically back up my files option appears and is turned on.
- Next click More option and select Backup now to start the backup process.
- By default, this will backup folders including desktop, documents, pictures, music, downloads, OneDrive, etc.
- But you can click add a folder option to backup your personal folder.
- Also ther is chance that you won’t need or want to backup all of these folders
- To remove that folder from the list simply select it and then click the Remove button.
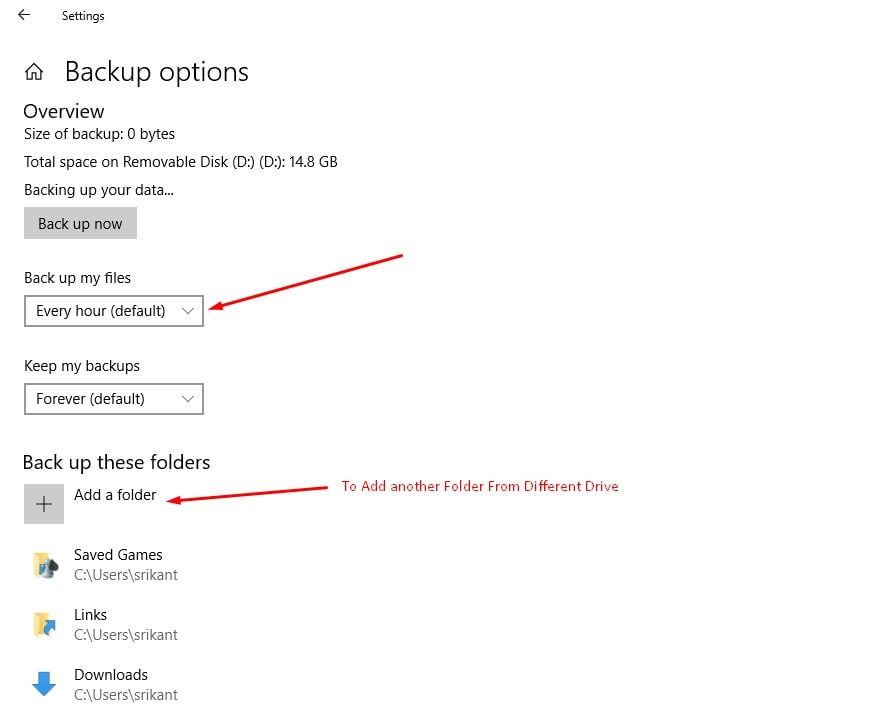
- Also you can configure how often File History backs up,
- And how long it keeps those backup copies, and which files it backs up.
Using Backup and Restore (Windows 7)
Also, there is another build in tool Backup and Restore (Windows 7) that help to create a backup of the latest version of your files on a schedule. In addition, you can also create a system image or entire system include system files programs, documents etc.
- Open Control panel, click on System and security,
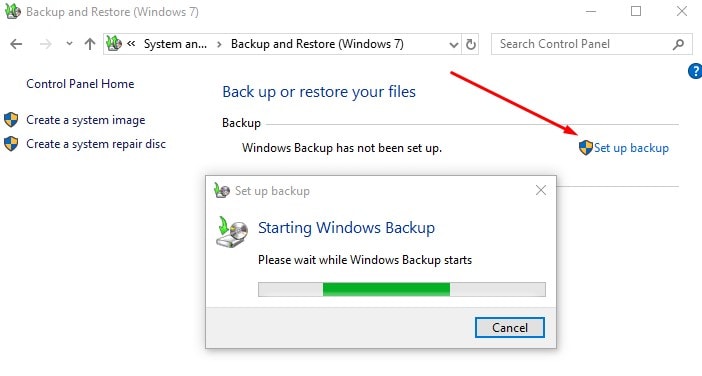
- Next click Backup and Restore (Windows 7).
- Here Under the “Backup” section, click the Set up backup option on the right.
- Next, select the removable drive where to store the backup.
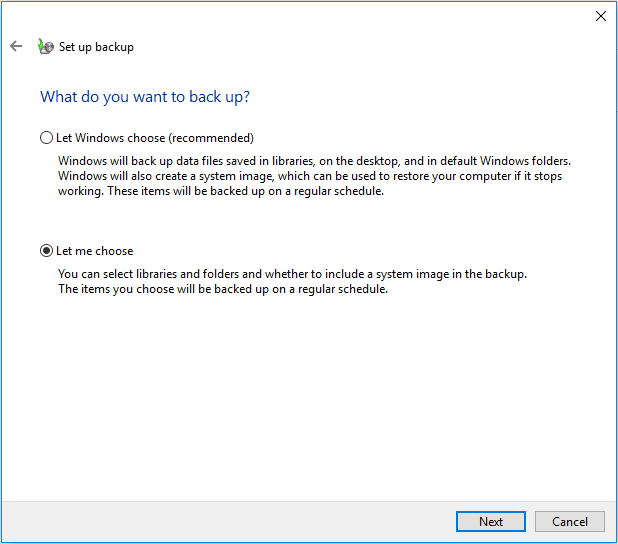
- Click next then under “What do you want to backup?” section, select the Let me choose option and Click the Next
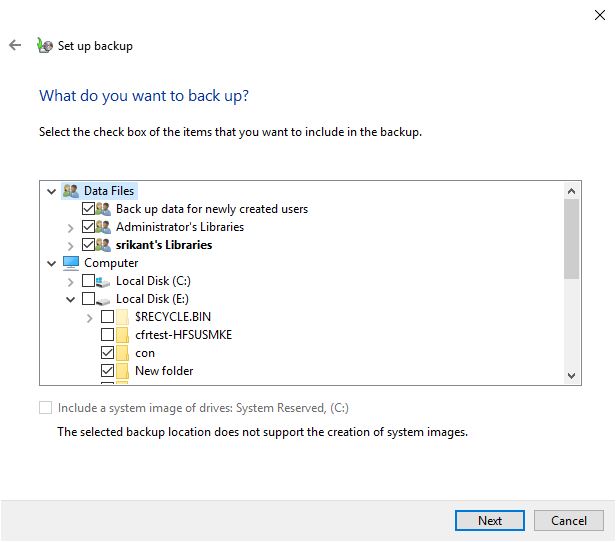
Then select the items you want to include in the backup from the checkbox.
- Click the Next then select Change schedule link
- Here Check the Run backup on a schedule (recommended)
- Then Specify the frequency, date, and time when Windows 10 should backup your computer.
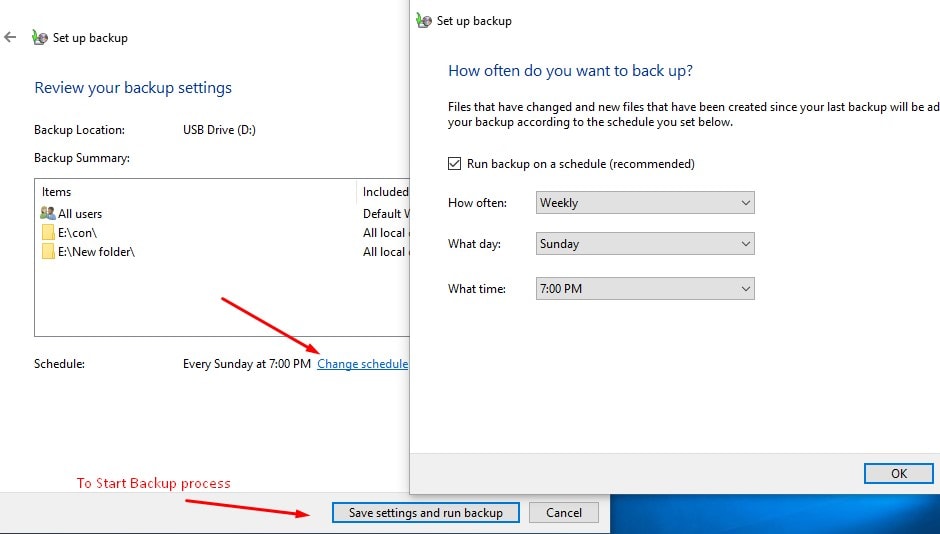
Click the OK then select Save settings and run the backup.
Once you complete the steps, an initial backup of your device will be created, and then incremental backups will be performed on the schedule you specified.