Usually opening Snipping tool is just a search away in Start Menu of Windows 8 or 10. But in new laptops/notebooks with SSD where Windows 10 indexing service is disabled by default, searching Snipping tool doesn’t come out with appropriate result. If you have a SSD in your laptop, do check if Windows Indexing Service is turned OFF or it’s working. To prolong life of SSD in your laptop, turns out to be only reasons for turning OFF Windows Indexing Service in Windows 10.
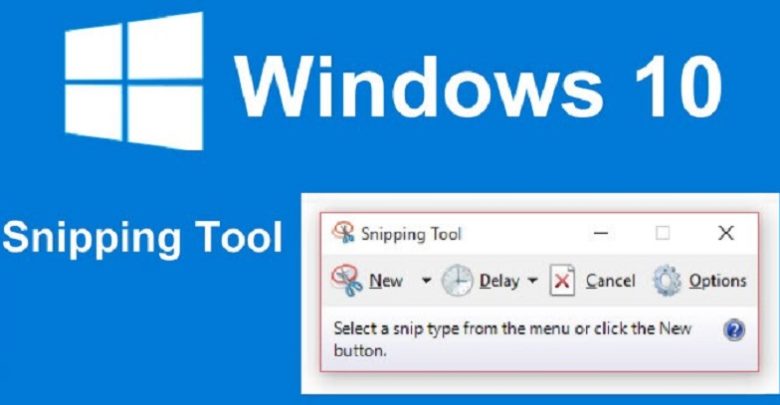
The article summarizes five methods to launch Windows 10 Snipping Tool for your option.
5 ways to open Snipping Tool in Windows 10:
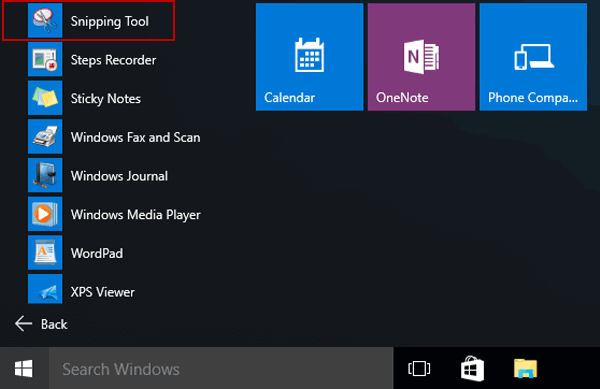
Way 1: Turn it on in Start Menu.
Get into Start Menu, select All apps, choose Windows Accessories and tap Snipping Tool.
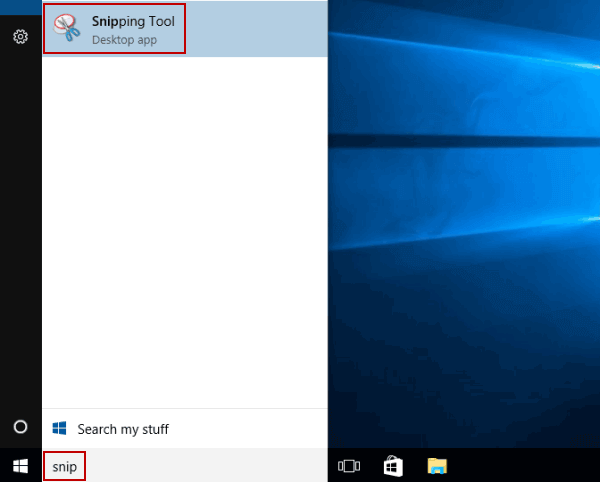
Way 2: Open it by searching.
Type snip in the search box on taskbar, and click Snipping Tool in the result.
Way 3: Turn it on via Run.
Display Run using Windows+R, input snippingtool and hit OK.

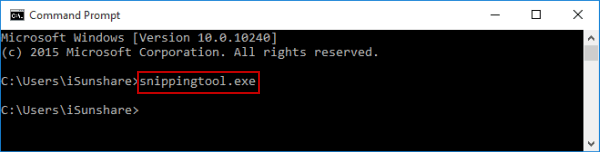
Way 4: Open it via CMD.
Launch Command Prompt, type snippingtool.exe and press Enter.
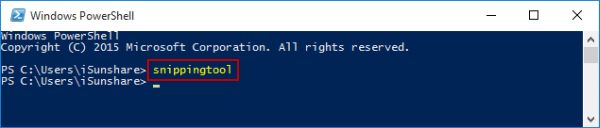
Way 5: Turn it on via Windows PowerShell.
Access Windows PowerShell, input snippingtool and tap Enter.