Wait, did you also install Windows 10? Are you also facing the no sound in Windows 10 issue? If yes, then you are not alone. Each time when you upgrade your Windows to higher version it causes a lot of problems. Windows 10 is no exception. No sound in Windows 10 is a common error out of the plethora of errors that Windows 10 comes with. Windows 10 comes with a lot of new and advanced drivers that leads to audio services not responding to Windows 10 error. There are many other factors too that are responsible for not hearing audio in Windows 10 as a simple audio troubleshoot.
There are many solutions available to fix audio issues in Windows 10. But all do not seem to work perfectly fine. So here you will get some absolute effective ways to fix audio issues in Windows 10. You can apply these methods for fixing the issue of no sound Windows 7 as well.
Fix No Sound Issue in Windows 10
All of you might have already tried some basic steps or have made changes in audio settings. But even if the audio services not responding Windows 10 error persists then go through these methods.
Method 1- Check sound Settings
The most obvious and the simplest way that you can try is by checking or re-adjusting the sound settings. To do so you can navigate through these steps-
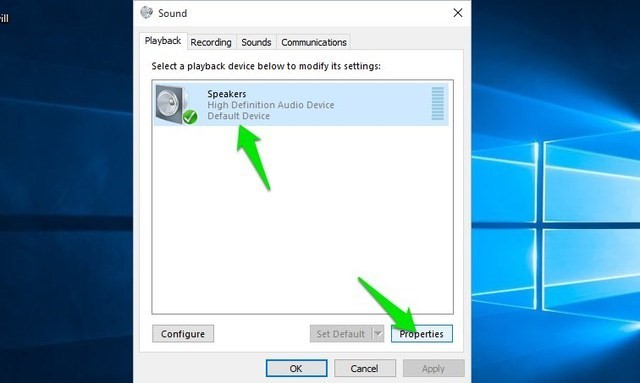
Step 1- Right-click on the sound icon that is present in the bottom right corner of your desktop. Now click on Playback devices.
Step 2- In the Playback tab, check out that there is a green tick on Speakers. This indicates that your speakers are your default playback device.
Step 3- In case they are not set as default then click on Set default and hit Ok.
Step 4- Now if you are still unable to hear the sound then go to Speakers. Click on Properties.
Step 5- Go to the Advanced tab, and then in the Default Format section click on different sample rate and bit depth. Click on Test.
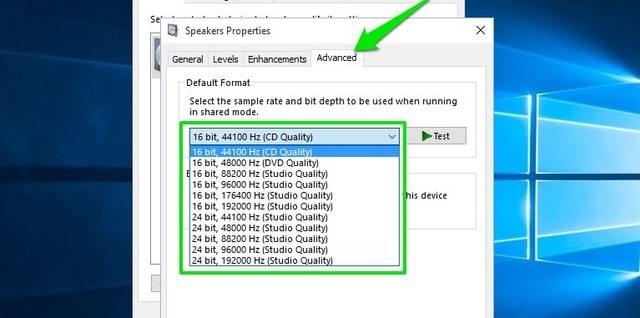
Repeat this process until you find a format that works and then finally click OK. If it doesn’t work head to our next method.
Method 2- Reinstall Audio Drivers
It is always irksome to find the perfect and compatible drivers. So the task is to roll on the audio drivers to fix the issue.
Step 1- Right-click on the Start button.
Step 2- Select Device Manager and then right-click your sound driver.
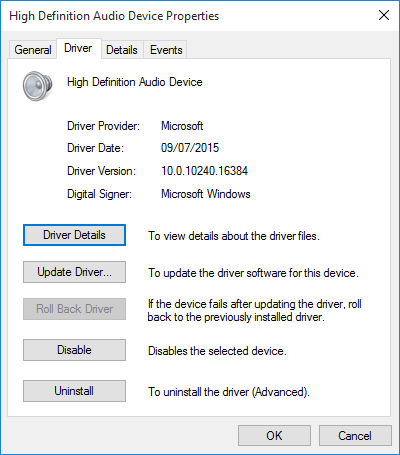
Step 3- Select Properties and browse to the Driver tab.
Step 4- Look for Roll Back Driver option and press it.
Windows 10 will begin the process. But if the option to roll on is not available then you need to either Update or Reinstall the driver. So to do so begin now-
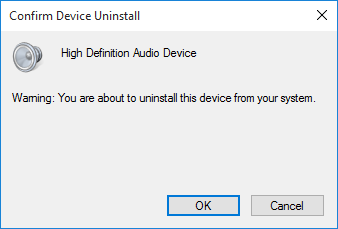
Step 1- Head to the same Properties and click on Uninstall.
Step 2- After when you click it you will meet the Confirm Device Uninstall window. Depending on the driver issuer, you may also find an option to delete the driver software. If this is the case, then press OK.
Step 3- Once it is done restart your PC and check if the problem is resolved.
Method 3- Update IDT High Definition Audio CODEC
Updating IDT high definition audio codec Windows 10 may also help you in adjusting the no sound error in your system. This can be fixed with the help of a manual driver update. Follow the steps to make corrections-
Step 1- Right-click on the Start menu.
Step 2- Select Device Manager. Then expand the Sound, video games and controllers section.
Step 3- From there spot the IDT High Definition Audio CODEC and right-click on it.
Step 4- Select Update Driver Software. Go to the next panel and select Browse my computer for driver software. This should be followed by picking from a list of device drivers on my computer. This will allow you to select from any drivers that are pre-installed on our system.
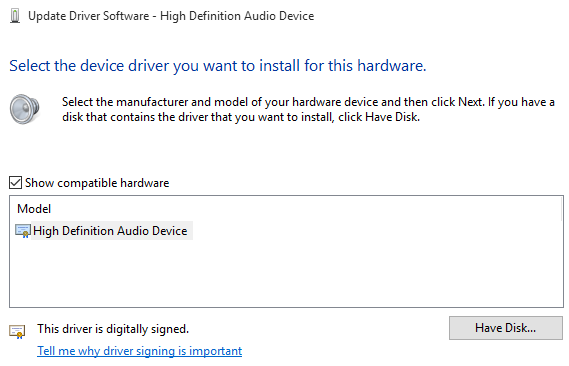
Step 5- Under the Model section, select High Definition Audio Device. Then click on Next, followed by Yes.
Now restart your system for the changes gets save. You will see that the audio is back.
Method 4- Disable Audio Enhancements
Next method in the list is disabling Windows 10 Audio Enhancements. Audio Enhancements are inbuilt Microsoft third-party packages that are designed to make your system’s specific audio hardware works perfectly. It is very simple to turn them off.
Step 1- In the taskbar search box type Sound.
Step 2- Click on the Sound Control Panel option. A new box will open.
Step 3- Then right-click the default device. Select Properties.
Step 4- Click on the Enhancements tab, and check the box that is labeled as Disable all enhancements.
Step 5- Hit option Apply.
Method 5- Disable and Restart Audio Services
Sometimes audio services can miraculously disable themselves. In that case, you need to do this-
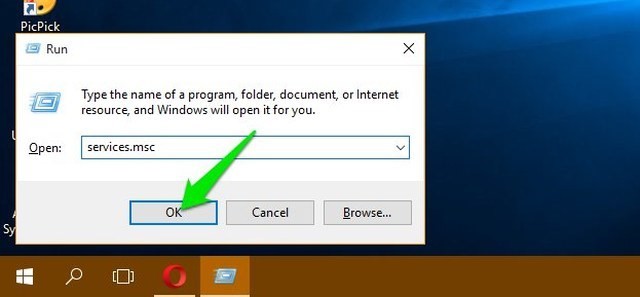
Step 1- To begin with press Windows+R keys. This will open Run command.
Step 2- Type “service.msc” to launch “Services”.
Step 3- Scroll down to “Windows Audio” service and check if a status is set to “Running”. If not then right-click on it.
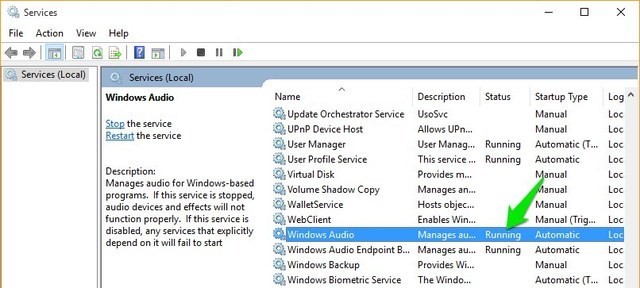
Step 4- Choose “Start” from the menu to start the service.
Audio services should be set to Automatic by default. If it is not the case then change it back.
Checking physical connections like cables, audio wires of the speakers are properly connected to PC. After when you have ensured all the settings and tries these methods it is likely that you will no longer come across the same problem of now sound Windows 10.