
If you’re upgrading to the 2018 iPad professional from AN iPad with bit ID, you’ll be certain a surprise once you attempt to take a screenshot on the new iPad professional. this is often as a result of because of the dearth of a home button, the method of taking a screenshot on the 11-inch and twelve.8-inch 2018 iPad professional is completely different from previous iPads.

If you’re exploitation AN iPhone X, iPhone XS, iPhone XS easy lay or iPhone XR, then you’ll realize the method of taking a screenshot acquainted. it’s terribly easy once you get wont to the new method.
Here are the steps you wish to follow to require a screenshot on iPad Pro 11-inch or iPad Pro 12.9-inch:
Step-by-Step Guide to Take a Screenshot on iPad Pro (2018)
To take a screenshot on the iPad Pro 11-inch and iPad Pro 12.9-inch, press the Top button (Sleep/Wake button) and immediately press the Volume Up button.
If you’ve an iPad Pro with the Home button, then the process of taking screenshots is slightly different. You need to press the Sleep/Wake or On/Off button, and immediately press the Home button.
Step 2: Edit Screenshot
If your iPad Pro is not on mute, you will hear the camera shutter sound. The screenshot preview will show up at the bottom. Tap on it and you’ll see the option to annotate the screenshot.
Tap and hold on the preview to directly jump to the Share sheet to send the screenshot to an iMessage conversation, WhatsApp, Slack or mail.
You can also dismiss the screenshot preview. The screenshot will be automatically saved in the Screenshot album in the Photos app.
How to Take a screenshot on iPad Pro using Assistive touch
There’s another way to take a screenshot on the iPad Pro 11-inch and iPad Pro 12.9-inch using one-hand but that requires enabling Assistive Touch.
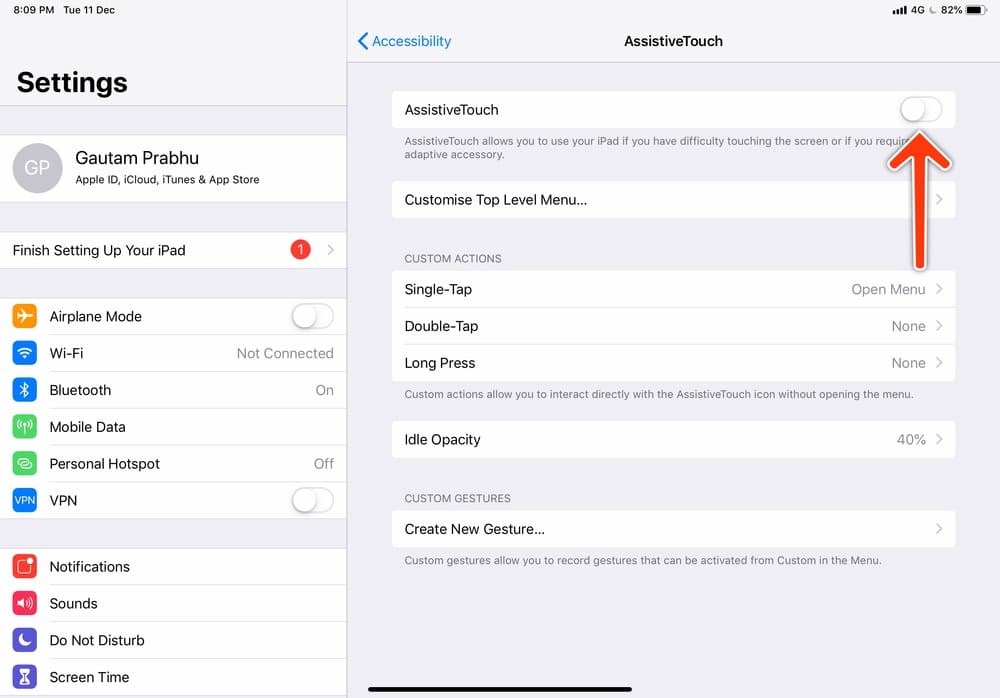
Step 1. Enable Assistive Touch
You can enable Assistive Touch by launching the Settings app and navigating to General -> Accessibility -> Assistive Touch and toggle Assistive Touch ON. You will see a semi-transparent button added to your screen. This is the Assistive Touch button.
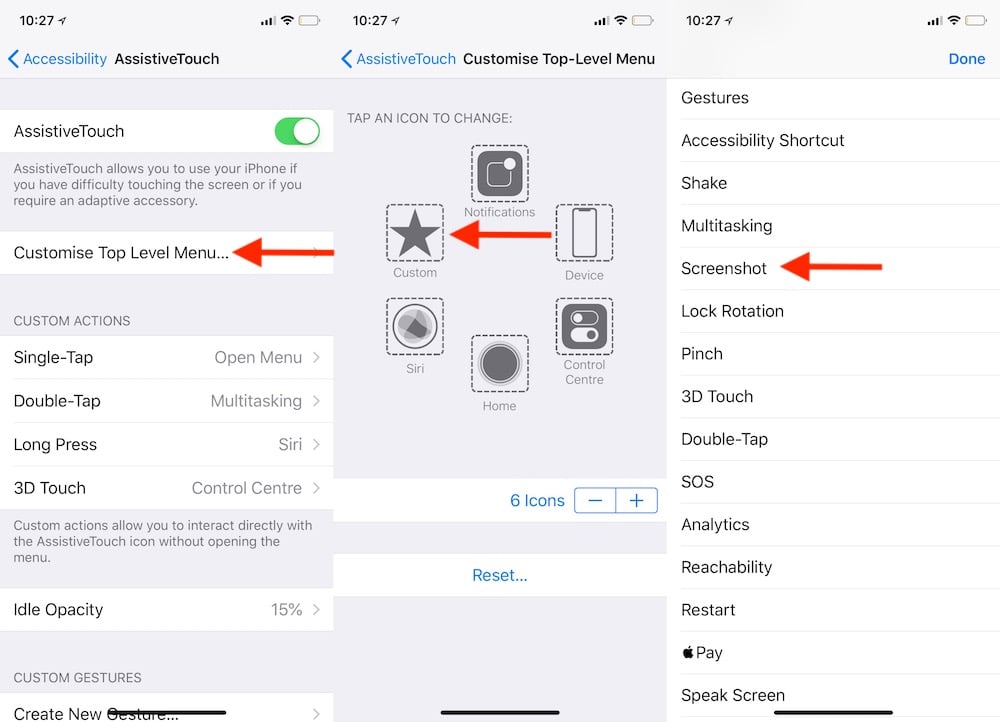
Step 2. Customize Top Level Menu
Tap on the Customize Top Level Menu.
Then tap the Custom icon (the one with the star), and select Screenshot from the list. The screenshot button will be added to the Assistive Touch Menu. You can also tap on any of the default icons to replace it with the Screenshot button, or any other option from the list.
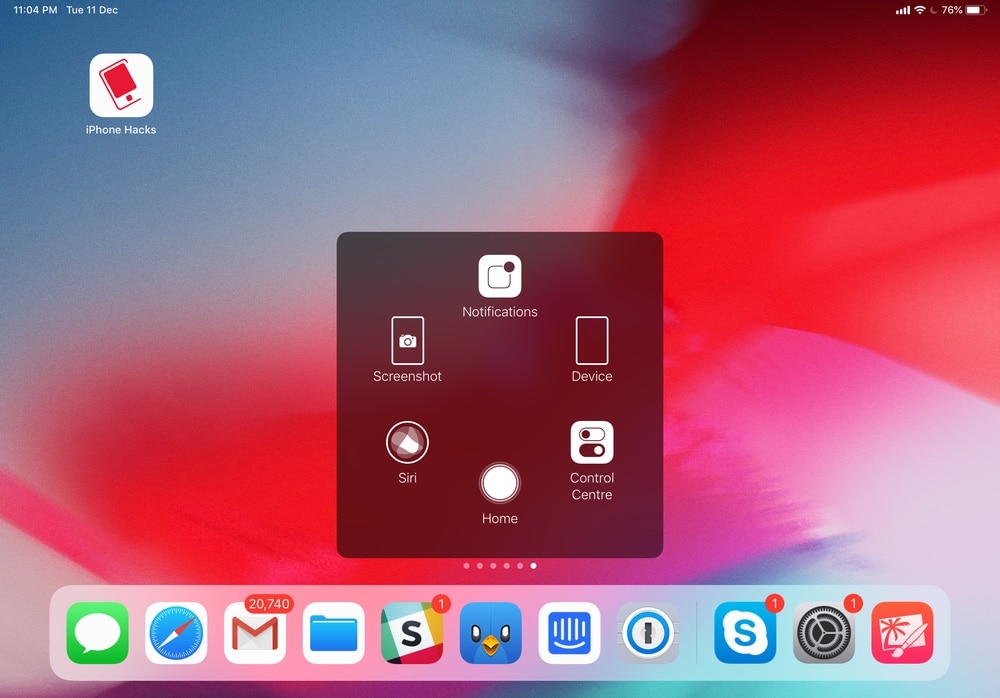
Step 4. Take Screenshot With Assistive Touch
With the screenshot option added to your Assistive Touch menu, we can take a one-handed screenshot anytime by tapping on the Assistive Touch button followed by the screenshot button.
And just like before, the screen will flash white, you’ll hear the camera shutter sound (if your phone isn’t on mute), and your screenshot will be saved in Photos.
How to View Screenshots on iPad Pro (2018)
All the screenshots you take on your iPad Pro will be saved in the Screenshots album in the Photos app. This album is auto-created by iOS and all screenshots you take will be automatically added to it.