Windows PC or Laptop showing popup error message Windows has detected an IP address conflict and due to this windows fails to connect network & Internet? When two computers should have the same IP address on the same network, they won’t be able to access the Internet and they will face the above error.
As having the same IP address on the same network creates a conflict. That’s why windows result IP address conflict Error message. If you are also having the same problem continue Reading We have complete solutions to resolve IP address conflict on windows based PC.
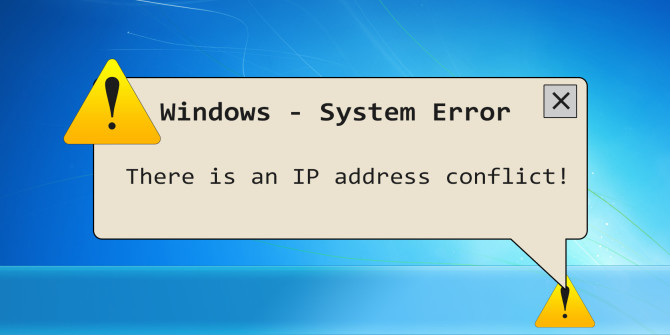
Issue: Windows has detected an IP address conflict
Another computer on this network has the same IP address as this computer.
Contact your network administrator for help resolving this issue.
More details are available in the Windows System event log.

Why IP address conflict Occur?
This IP address conflict error mostly occurs on local Area networks. As we create local area connection to share resources file, folder, printer on different computers. Local networks are created in two ways by assigning a static IP to each computer and by configuring a DHCP server to assign dynamic IP address to each computer within a specific range. Some time two computers have same IP address on a network. Therefore, the two computers can not communicate within the network and an error message occurs saying there is an IP address conflict on the network.
Resolve IP Address Conflict On Windows PC
Restart Router: Start with Basic simply Restart your Router, Switch ( if connected ) And your Windows PC. If any Temporary Glitch Causing the issue reboot/power cycle the device clear the issue, And you will back to the normal working stage.
Disable/Re-enable Network Adapter: Again this is another most effective solution to fix most of network/Internet related problems. To do this press Windows + R, type ncpa.cpl hit enter. Then right-click on your Active network adapter select Disable. Now Restart your computer, After that Again open Network and internet connection window using ncpa.cpl command. This time right click on the network adapter ( which you disabled previously ) then select Enable. After that check, your connection may be back to normal stage.
Configure DHCP for Windows
This is the most effective solution I personally found to resolve IP address conflict on windows computers. This is very simple if you are using static IP Address ( manually configured ) Then change it, configure DHCP to obtain IP Address Automatically which mostly most the problem. You Can configure DHCP to obtain IP address Automatically by following steps below.
First press Windows + R, Type ncpa.cpl and hit enter key to open Network connections window. Here right click on your Active network Adapter and select properties. Select Internet Protocol Version 4(TCP/IPv4) and click Properties. A new popup window open, Here Select the radio button Obtain IP address automatically. and Select Obtain DNS server address automatically As shown image below. Click OK to close the TCP/IP Properties window, the Local Area Connection Properties window, and Restart your computer.

Flush DNS and Reset TCP/IP
This is another Effective Solution if you have already Configured DHCP for Obtain IP Address Automatically And getting IP conflict error message then flush the DNS cache, And Reset the TCP/IP will renew a new IP address from DHCP server. Which most probably fix the issue on your System.
To flush DNS cache and Reset TCP/IP first you need to open the command prompt as administrator. Then perform Command Below one by and press enter to execute the same.
netsh int ip reset
Ipconfig /release
Ipconfig /flushdns
Ipconfig /renew

After performing These commands type exit to close the command prompt, And restart your windows computer to take effect the changes. Now on next start check, There is no more IP Address conflict error message on your PC.
Disable IPv6
Again Some users report Disable IPV6 help them to resolve this IP Address conflict error message. You can do this by following below.
Press Windows + R, type ncpa.cpl, and press enter key. On network connections window right click on active network adapter select properties. on new popup window uncheck IPv6 as shown image below. click ok to apply and close the current window and check problem resolved.

These are some most effective solutions to Resolve IP address conflict on windows PC. I sure apply these solutions fix the issue “Windows has detected an IP address conflict” and your Network & Internet connection Start working normally. Still, need any help about this IP Address conflict problem feel free to discuss in comments below.