One of the significant benefits of connect iPhone to mac. Integrated Apple products offer multiple ways to easily share what you see or do through connect iPhone to Mac or iPad. This can be beneficial when you want to put down a photo album or view applications on your computer. It works very well with video content available via your iPhone app. For example, if you wanted to use someone else’s Instagram mobile app on someone else’s Mac, you could turn on your iPhone and design Instagram right on the computer.
How To connect iPhone to Mac using iCloud
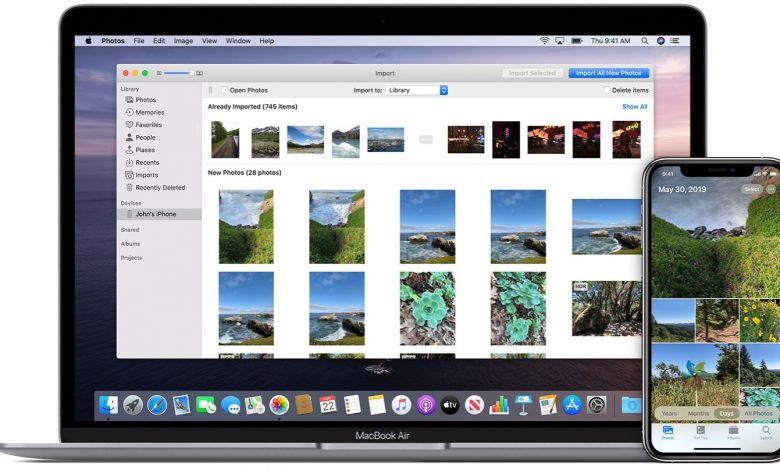
Since connectivity has been a priority in the Apple family almost from the start, you can quickly view your phone on the computer using QuickTime and the standard iPhone operating system. Connecting your iPhone to the MacBook is usually very simple. But in case if you have a MacBook Air, MacBook Pro, or one of Apple’s (now discontinued) MacBook’s that only offer USB-C. We’ll look at this Apple laptop in the coming details of this article. Right now, just focus on what you’re looking for.
But before we get to the complex cases, let’s get rid of the simple ones.
1-Connect Using Data Cable
Your iPhone comes with a cable that you can use to connect it to a computer or Mac and charge it. If you have an iPhone 5 or the latest version, this is a USB to Lightning cable. If you’re buying an iPhone 4s or earlier, it’s a USB to 30-pin cable. We doubt there are still many of them left, but you never know!
It doesn’t matter who, because the laptop end, the USB end are the same.
- Plug-in the other end of the lightning cable into the iPhone. (If the connector is still attached to the other end of the cable, unplug it to keep the USB end clean.) Now connect it through USB ports on your Mac.
- At this point, different applications can open automatically on your Mac, depending on your preferences. On our MacBooks, it’s always an image, although you can turn off this answer. iTunes can also open automatically. If not, open iTunes manually or open a window if it is already open.
- Meanwhile, you will get a message about the availability of the latest iOS version at this point. You can download and installed the update. However, we usually do this wirelessly via radio. Click Cancel to skip the message.
2-Connect Using iCloud
To sync your iPhone and Mac using iCloud, assure that your devices, Mac and iPhone, are adequately signed in with the same account and have the same sync settings. Any changes to the data on one device will sync to iCloud and then to the other devices, so it’s always in sync.
1. LOG-IN FROM ICLOUD ON IPHONE
Sign in to iCloud with your Apple ID. You may have done this while setting up your iPhone and Mac, but follow these steps if you haven’t already.
- At the first step, go to your mobile settings.
- Tap on your name showing at the top of the screen.
- Click on the Tap iCloud.
- Last but not least, log in with Apple ID username and password
2. REGISTER AT MAC’S ICLOUD
log-in to your same iCloud account on your Mac to start syncing. You may have already done this during setup. For instance, if not, do this quickly.
- Simply click the menu in the top left corner.
- Options Click on System Preferences.
- Click on iCloud.
- Log-in through your Apple ID username and password.
- And just do as the instruction given to make iCloud.
3. iCloud SYNCHRONIZATION OPTIONS
Data that can be synced with iCloud includes Apple News, Calendar, Contacts, Email, Homekit Data, Notes, Reminders, Bookmarks and Safari Files, Siri Data, Inventories, as well as the username and password of your keychain. (You should also use Apple’s pre-installed apps for this data type.)
After both devices are signed in to iCloud, make sure the sync settings match. For example, if you want to use iCloud to keep your contacts in sync, check the Mac Contacts box and slide the iPhone slider’s Contacts to / green.
3- Connect iPhone to Mac Using Reflector
Spotlight is an app that, like QuickTime, rotates your phone accurately. The bonus of Reflector is that it doesn’t let you take potentially large screenshots.
Note, however, that Reflector is only free for one week. Then you’ll have to pay a fee ($ 18-20, depending on the type you’re downloading) to keep using it on your Mac. And during your free trial, a watermark will appear on the screen while you are watching it.
- Download Reflector 3 on your Mac.
- Open the Reflector program on your Mac.
- Open Airplay-enabled content on your iPhone. In this example, I am using the NFL application.
- Touch the Airplay icon (it’s a computer screen with a solid triangle at the bottom).
- Ask what you want with Airplay. Tap the name of your Mac.
- Your iPhone asks for an AirPlay code.
- An AirPlay code will appear on your Mac.
- Enter the AirPlay code on your iPhone.
- Your content will be display on your iPhone in the Reflector program on your Mac.
Reflector also offers a version for PC.
4-Connect iPhone to Mac Using Bluetooth
When you connect your iPhone to Mac via Bluetooth, you can sync wirelessly with iTunes or connect to a Personal Hotspot. This feature is available on specific data plans and turns your iPhone into a mobile hotspot. Bluetooth makes it easy to organize your business with a cable and gives your Mac access to the Internet wherever a cellular connection is available. For best results, you only need to be a few feet from the device to connect.
- On your iPhone, tap the Settings app, then tap General. Touch the Bluetooth menu and slide the slider On.
- Click the Bluetooth icon in the menu bar on your Mac.
- On the Devices tab, select the iPhone you want to pair with. Highlight iPhone then clicks Connect.
5- Connect Other ways
Syncing is not the only way to connect iPhone and Mac. Both devices have service features and content sharing to make your digital life more comfortable. Some examples are:
- Private access point
It turns iPhone into a WiFi hotspot and shares your internet connection with your Mac.
- Airdrop
Do you need to switch multiple files between devices? Use this tool for fast wireless file transfers.
- iMessage
Did you know that you can send and receive iMessages from your Mac? Just open Messages on your Mac and log in to your iMessage account. iCloud music library. If you have a subscription of Apple Music, iTunes Match, or purchased music from the iTunes Store, all of your iOS devices can have a similar tune using iCloud Music Library.
Just enable the option on your iPhone:
- Settings> Music> move the iCloud Music Library slider to On / Green
- On your Mac go to iTunes> iTunes menu> Preferences> General> check the box for iCloud- Music Library.
Concluding Remarks
To restore your iPhone or iPad to the factory default settings, you need to connect the iOS device to your Mac using a USB or USB-C cable. Syncing over WiFi is slower than syncing over cable. If you connect an iOS device to your Mac while the device is syncing via WiFi, the cable will continue to sync. If you disconnect the device cable from your Mac while syncing, syncing will stop even if WiFi syncing is turned on. Synchronization will continue when you reconnect the device by cable or WiFi.